Summary
This turntable setup guide starts with the thing nobody tells you: a turntable that arrives in a box is not ready to play. Most of them need the counterweight set, and several ship with the cartridge unattached. Skipping this takes...
Table of Contents
- 1 What you need for this turntable setup guide
- 2 Step 1: Position and level the turntable
- 3 Step 2: Fit the cartridge
- 4 Step 3: Balance the tonearm
- 5 Step 4: Set the tracking force
- 6 Step 5: Set anti-skate and alignment
- 7 Step 6: Connect it up
- 8 Fixing common problems
- 9 Common questions
- 9.1 How often should I redo this?
- 9.2 Do I really need a force gauge?
- 9.3 When does the stylus need replacing?
- 10 Then just play records
This turntable setup guide starts with the thing nobody tells you: a turntable that arrives in a box is not ready to play. Most of them need the counterweight set, and several ship with the cartridge unattached. Skipping this takes twenty minutes off your day and years off your records.
Here is the whole process, in order, with the tolerances that matter.
What you need for this turntable setup guide
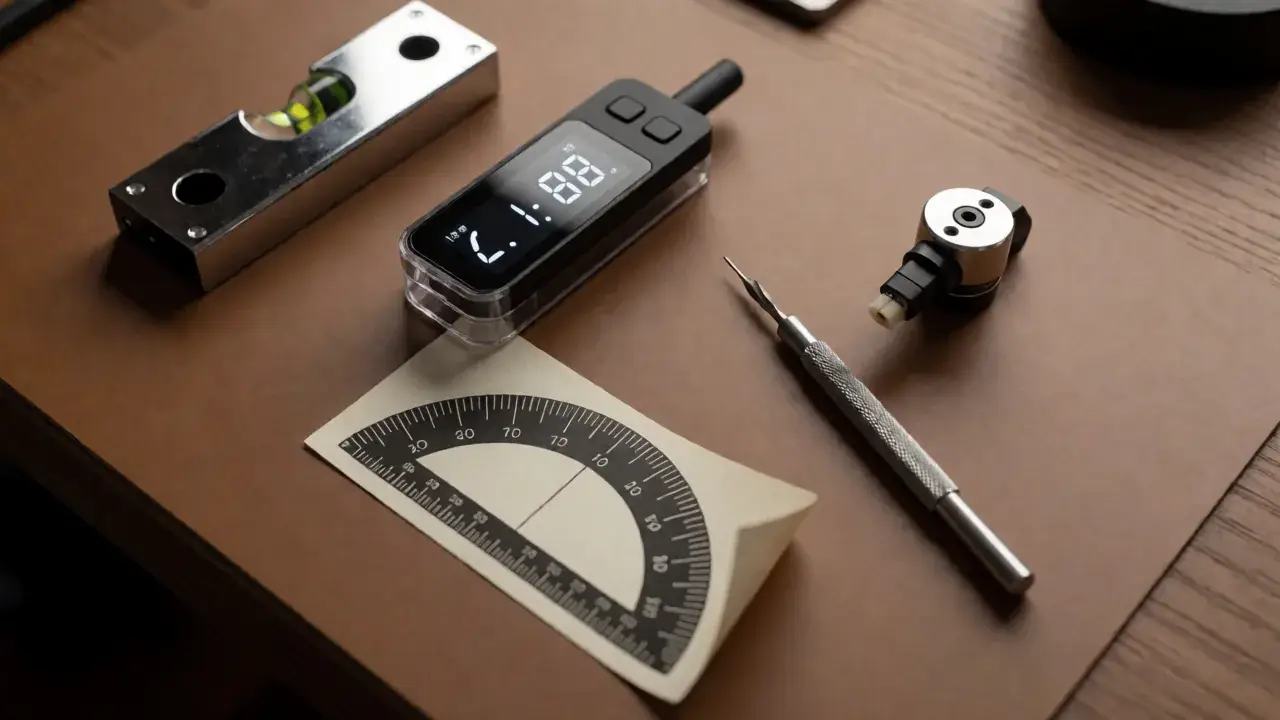
- A spirit level — a phone app will do
- A stylus force gauge if your turntable did not include one (around $12)
- A cartridge alignment protractor — often printed in the manual
- A small flat-blade screwdriver
Fully automatic turntables with a pre-mounted cartridge skip steps 2, 4 and 5. Check your manual before buying tools you do not need.
Step 1: Position and level the turntable
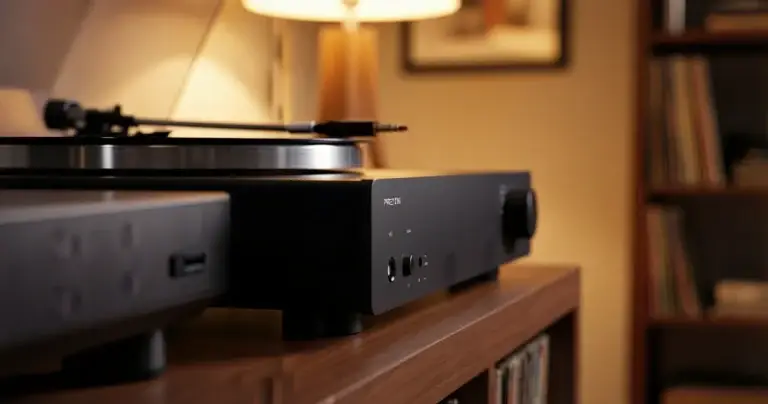
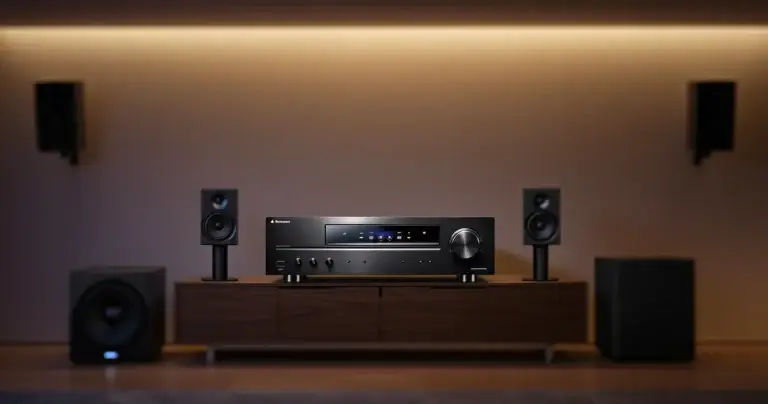
Put it on the most rigid surface you have, as far from the speakers as the room allows. A wall-mounted shelf beats a floor stand, which beats a sideboard shared with the speakers. Speaker placement matters just as much, and our home stereo guide covers it.
Then level it, front to back and side to side, adjusting the feet if it has adjustable ones. A turntable that is off-level pulls the stylus toward one groove wall, which wears that side faster and shifts the stereo balance.
Step 2: Fit the cartridge
Skip this if yours came pre-mounted. Otherwise: attach the cartridge to the headshell with the supplied bolts, finger-tight at first. Connect the four coloured wires to the matching pins — red to R+, green to R−, white to L+, blue to L−.
Those connectors are fragile. Grip the metal tag, never the wire, and use needle-nose pliers if your fingers will not fit.
Step 3: Balance the tonearm
This is the step people skip, and the one that matters most.
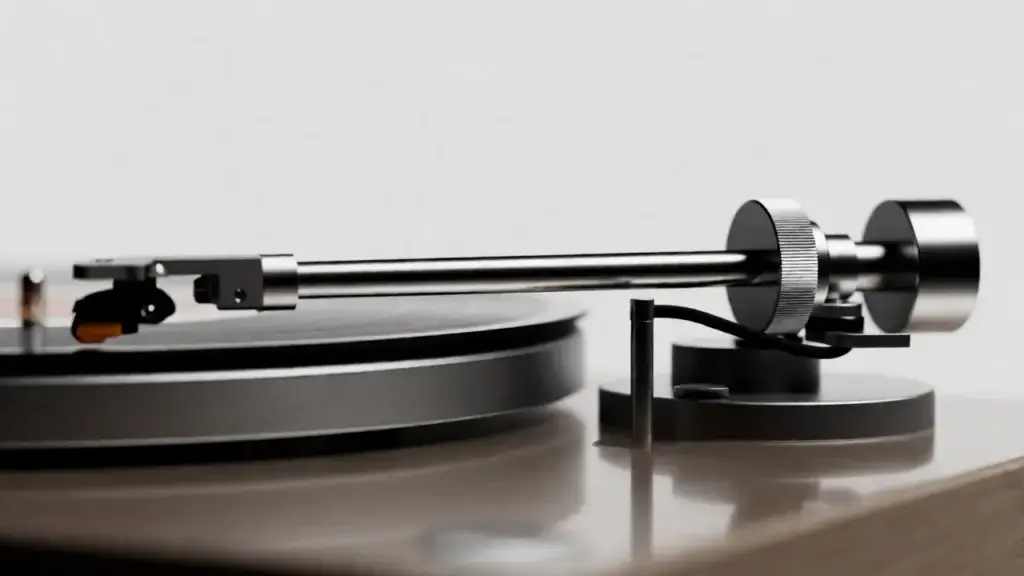
Set anti-skate to zero. Unlock the tonearm and rotate the counterweight at the back until the arm floats level, parallel to the platter, neither sinking nor rising. Take your time — it is a fine adjustment.
With the arm floating, set the dial on the counterweight to zero without moving the weight itself. The tonearm is now calibrated and you can dial in a real number.
Step 4: Set the tracking force
Your cartridge’s manual specifies a range, usually between 1.5 and 2.5 grams. Use the middle of it.
| Cartridge | Recommended force |
|---|---|
| Audio-Technica AT-VM95E | 2.0 g |
| Ortofon OM5e | 1.75 g |
| Ortofon 2M Red | 1.8 g |
| Most conical budget cartridges | 2.5–3.5 g |
Turn the counterweight to that figure, then verify it with a gauge if you have one. The dials are frequently out by 0.2g or more, which is enough to matter.
Too light is worse than slightly too heavy. A stylus that cannot stay in the groove skitters across it, and that does far more damage than a little extra weight.
Step 5: Set anti-skate and alignment
Set anti-skate to match the tracking force — 2.0g force, 2.0 anti-skate. It counteracts the inward pull that a pivoting tonearm generates as it tracks toward the centre.
For alignment, place the protractor on the spindle and check the cartridge sits square to the grid at the null points. Loosen the headshell bolts, nudge it, retighten. This is fiddly and it improves inner-groove distortion noticeably.
Step 6: Connect it up
The signal has to pass through a phono stage before it reaches a normal input. You have three options:
- Turntable has a built-in preamp — switch it on and connect to any line input.
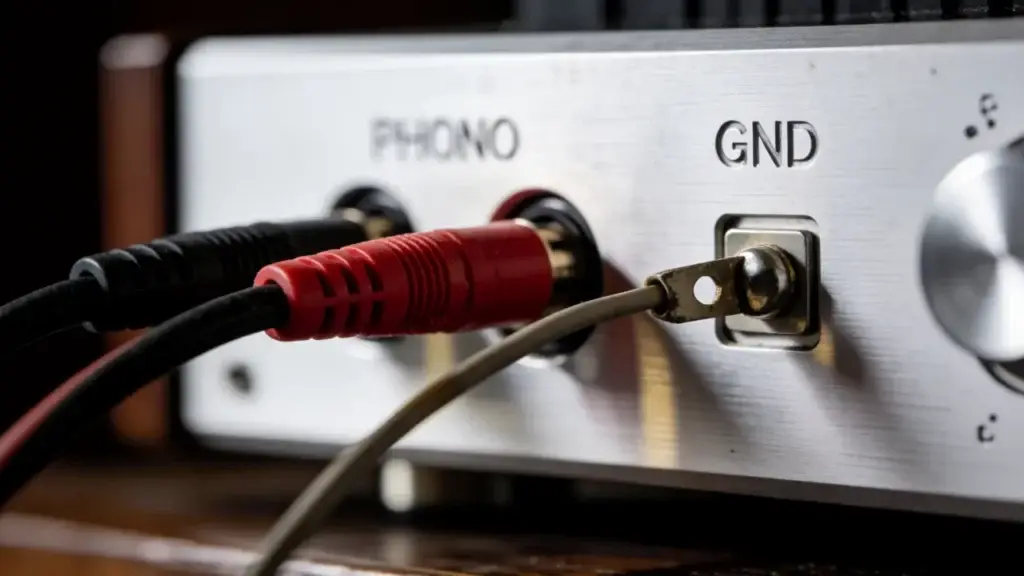
- Amplifier has a PHONO input — use that, and switch the turntable’s preamp off if it has one.
- Neither — you need an external phono preamp, around $50–$150. Some powered speakers include one, which avoids the extra box: our active speakers guide notes which do.
Running two preamps in series is the most common wiring mistake. It sounds distorted and unpleasantly loud. If that is what you are hearing, one of them is switched on when it should not be.
Also connect the ground wire, if your turntable has one, to the ground post on the amplifier. That thin spade-terminated wire cures most hum.
Fixing common problems
| Symptom | Usual cause |
|---|---|
| Low hum | Ground wire not connected |
| Very quiet, thin sound | No phono stage in the chain |
| Distorted and too loud | Two phono stages in series |
| Skipping | Tracking force too light, or turntable not level |
| One channel silent | Loose cartridge wire |
| Muddy at volume | Speaker vibration reaching the platter |
| Speed drifts | Belt worn or stretched |
Common questions
How often should I redo this?
Check tracking force once a year, and any time the turntable is moved. Redo alignment only when you change cartridge.
Do I really need a force gauge?
If your records matter to you, yes. Counterweight dials are printed, not calibrated, and being 0.3g out is common. A gauge costs about $12 and removes the guesswork permanently.
When does the stylus need replacing?
Every 500–1,000 hours for most cartridges. A worn stylus damages records permanently, so replace it on schedule rather than waiting to hear a problem — by the time it is audible, it has already done harm.
Then just play records
Twenty minutes once, and the setup holds for a year. Brush each record before playing, keep the lid down between sides, and the collection will outlive the turntable.
Choosing the equipment first? See our beginner turntable guide or the under $500 roundup for models that make this process easier. If you are buying speakers at the same time, our turntable and speaker packages guide pairs them so the phono stage question is already settled.